When it comes to painting your car, there are a few different ways that you can go about it. You can either use a base coat/clear coat system, or you can use a single stage paint job. For those who are looking to save some money, a single stage paint job is the way to go.
However, many people think that orange peel is inevitable when using this method. This simply isn’t the case though – with the right technique, you can avoid orange peel and have a beautiful, smooth finish.
- Prepare your surface: Single stage paint adheres best to a smooth, clean surface
- Use sandpaper or a chemical stripper to remove any previous paint or finishes
- Prime the surface: Once the surface is prepared, apply a primer coat
- This will help the single stage paint to adhere better and create a more even finish
- Paint the surface: Apply the first coat of single stage paint evenly and allow it to dry completely before applying additional coats
- Be sure to sand between each coat for a smooth finish
- Finish up: Once you are happy with the final coat of paint, allow it to cure for at least 24 hours before using or washing the area
How to Spray Single Stage Urethane Paint
Spraying single stage urethane paint is not difficult, but there are a few things you need to know in order to do it properly. First, you need to understand what type of paint you have. There are two types of urethane paint: polyurethane and acrylic urethane.
Polyurethane is more durable and will last longer, but it is also more difficult to work with. Acrylic urethane is easier to spray and can be buffed out if necessary, but it does not last as long.
Once you know what type of paint you have, you need to choose the right primer.
If you are painting over an existing finish, you will need to use a self-etching primer. This type of primer etches into the existing finish so that the new paint will adhere properly. If you are starting with a bare surface, then any good quality primer will suffice.
The next step is to mix your paint according to the manufacturer’s directions. Once your paint is mixed, pour it into your gun and start spraying! Begin by spraying a light coat onto your surface; this will help prevent runs and sagging later on.
After your first coat has dried completely, apply additional coats until you achieve the desired coverage.
How to Thin Urethane Paint for Spraying
In most cases, when you purchase urethane paint it is already thinned for spraying. However, there may be times when you need to thin the paint even further. The best way to do this is to use a product specifically designed for thinning urethane paint.
There are a few different brands on the market, but we prefer Xylene.
Xylene is a solvent that will help to break down the urethane molecules and make them easier to spray through your equipment. It also evaporates quickly, so you don’t have to worry about it affecting the final finish of your project.
To thin urethane paint for spraying, simply add 10-15% Xylene (by volume) to your gallon of urethane paint and mix well. This will give you the optimal consistency for spraying and provide a great finish on your project!
How to Spray Single Stage Metallic Paint
You can achieve a beautiful, deep metallic paint job on your car by following these simple tips for spraying single stage metallic paint. First, be sure to have all of your supplies ready and in place before you start painting. This includes your paint gun, air compressor, clean water source, paper towels, and waste container.
Next, mix your paint according to the manufacturer’s instructions. Once the paint is mixed, pour it into your gun’s cup and attach the cup to the gun.
Begin by taping off any areas you don’t want painted. Then hold the gun about 8-10 inches away from the surface of the car and apply even pressure to the trigger as you move the gun in smooth, even strokes. Overlap each stroke by about 50% to ensure even coverage.
After you’ve gone over the entire car with a first coat of paint, allow it to dry for the amount of time recommended by the manufacturer before applying a second coat. With these tips for spraying single stage metallic paint, you’ll be able to achieve a beautiful finish on your car that will last for years to come!
Spray Paint Orange Peel Fix
It’s inevitable. You’re painting your kitchen cabinets and you think everything is going great until you step back and realize that your paint job looks like an orange peel. What happened?
This common painting mistake is caused by not using the proper techniques when applying paint to your surface. When painting, it’s important to use even strokes and avoid over-brushing in one area. If you find yourself with an orange peel finish, don’t despair!
There are a few things you can do to fix it.
First, try sanding down the area with a fine-grit sandpaper. This will help to smooth out the surface and give you a better base for repainting.
Once you’ve sanded, be sure to wipe away any dust before beginning to paint again.
If sanding doesn’t seem to be doing the trick, you may need to strip the paint off completely and start from scratch. This may sound like a daunting task, but there are actually several ways to strip paint that don’t require harsh chemicals or hours of elbow grease (you can find some good tips here).
Once you’ve stripped the paint, start fresh with a new coat of primer followed by several thin coats of paint. Be sure to use even strokes and avoid over-brushing as before. With any luck, this time you’ll end up with a smooth, beautiful finish!
How Many Coats of Single Stage Paint
If you are painting a car with single stage paint, you will need to apply at least 3 coats. Single stage paints are not as forgiving as base/clear coat paints, so it is important to make sure that you get good coverage. When applying the paint, be sure to use even strokes and don’t go over any area more than once.
Once the final coat is dry, you should wet sand the entire vehicle before buffing it out to a high shine.
How to Prevent Orange Peel in Automotive Paint
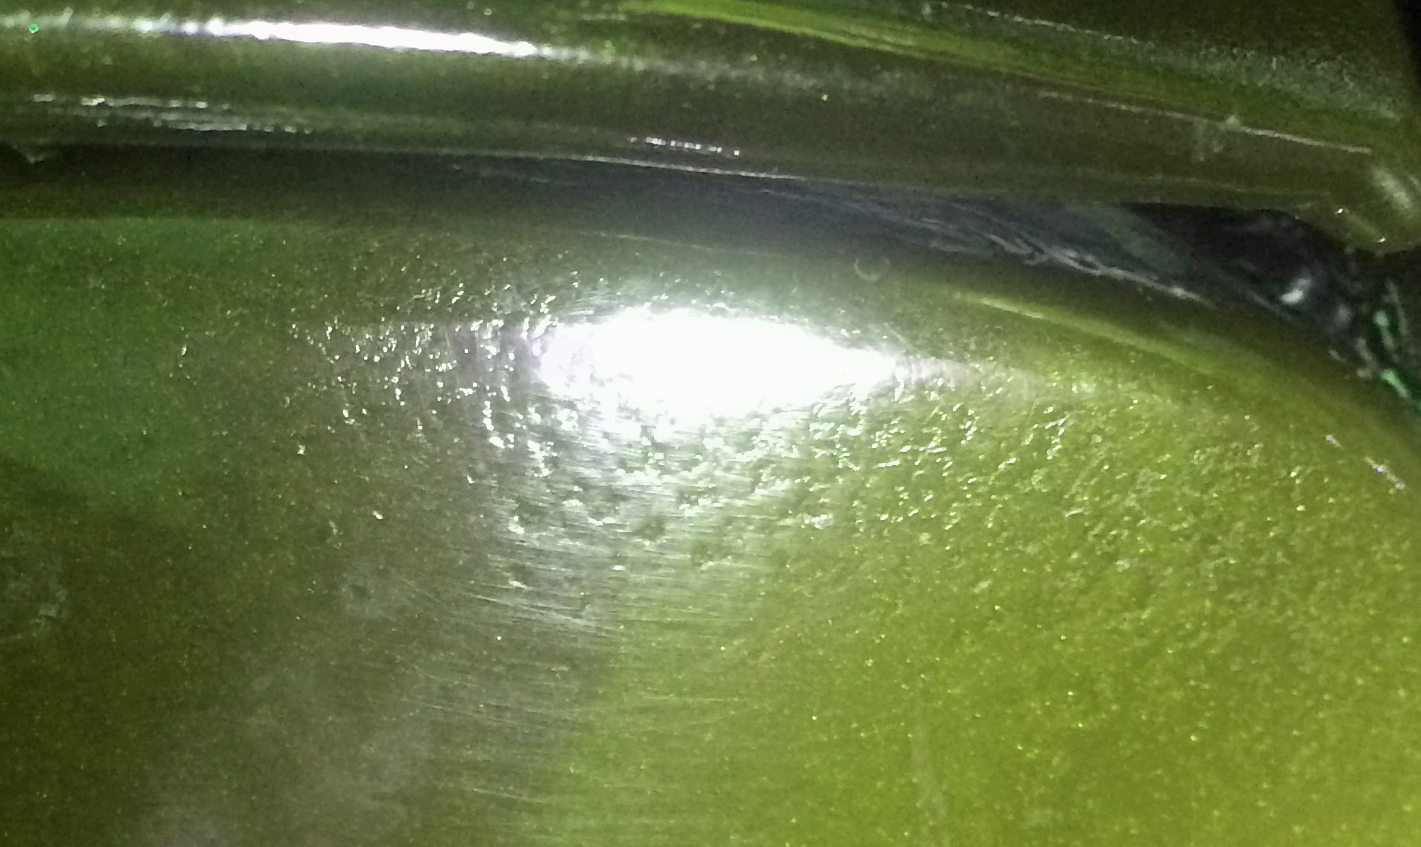
One of the most common paint defects is orange peel. Orange peel looks like, well, an orange peel and is caused by improper spraying or drying techniques. It can be very frustrating for a painter to deal with, but there are ways to prevent it.
The first step is to make sure your paint gun is set up properly. The air pressure should be between 30 and 40 psi and the fluid pressure should be around 10 psi. If either of these is too high or too low, it can cause orange peel.
Next, you want to hold the gun about 8-10 inches from the surface you’re painting. If you’re too close, the paint will be too thick and if you’re too far away, it will be too thin. Both of these can cause orange peel.
Finally, you need to make sure you’re applying even coats of paint. That means going over each section multiple times until the entire area is evenly covered. Once you’ve done that, let the paint dry completely before moving on to the next coat.
If you follow these steps, you should be able to avoid orange peel in your automotive paint job!
How to Avoid Orange Peel When Rolling Paint
If you’ve ever rolled paint onto a wall and ended up with an uneven, orange-peel like surface, you know how frustrating it can be. Luckily, there are a few things you can do to avoid this problem.
First, make sure the surface you’re painting is clean and free of any dust or debris.
Any dirt on the surface will create an uneven texture when the paint is applied.
Next, use a high quality roller cover. A good rule of thumb is to use a thicker cover for textured surfaces and a thinner one for smooth surfaces.
This will help ensure an even coat of paint.
Finally, don’t apply too much pressure when rolling the paint onto the wall. The goal is to evenly distribute the paint without putting too much on in one area.
If you find that you’re having trouble getting an even coat, try using a slightly dampened roller cover. This will help thin out the paint and make it easier to spread evenly over the surface.
How to Prevent Orange Peel With Rattle Can Paint
If you’re looking to avoid orange peel when using a rattle can, there are a few things you can do. First, make sure the surface you’re painting is clean and free of any debris. This will help the paint to adhere evenly.
Next, thin out the paint slightly with some distilled water. This will help it to flow more smoothly and prevent clumping. Finally, be sure to apply several light coats of paint, allowing each one to dry completely before adding the next.
With these tips in mind, you should be able to achieve a smooth, even finish that looks great!
Credit: www.onallcylinders.com
How Do You Spray Paint Without Getting Orange Peel?
If you’re looking to achieve a smooth, professional paint job without any orange peel texture, there are a few key things you’ll need to do. First, make sure you start with a clean surface that’s free of any dirt, grease or other contaminants. Once your surface is prepped, it’s time to apply your paint.
When spraying paint, hold the can 6-8 inches away from the surface and use even, consistent strokes. Overlap each stroke slightly to ensure even coverage. After you’ve let the first coat of paint dry completely (usually about an hour), apply a second coat using the same technique.
Finally, once the second coat is dry, apply a clear sealant or topcoat for added protection and shine.
What Psi Should I Spray Single Stage Paint?
PSI (pounds per square inch) is a unit of measure that denotes the amount of pressure being applied to an object. In regards to painting, PSI is important to consider because it determines the amount of paint that is being sprayed onto the surface. The higher the PSI, the more paint that will be dispensed.
There are a few factors to take into account when deciding on the appropriate PSI for spraying single stage paint, such as: -The type of paint you are using (lacquer, enamel, urethane, etc.) -The consistency of the paint
-The size of your spray tip -The type of surface you are painting (smooth or rough) As a general rule of thumb, lacquer and enamel paints should be sprayed at 30-40 PSI, while urethane paints should be sprayed at 50-60 PSI.
If you are unsure about what kind of paint you are using, it is always best to consult with the manufacturer or your local auto body shop. They will be able to give you specific instructions on how to best apply their product.
How Do You Get Orange Peel Out of Single Stage Paint?
If you’re trying to remove orange peel from single stage paint, there are a few things you can do. The first is to sand the area with a high-grit sandpaper. This will help to level out the surface and remove any roughness.
You can also try using a chemical stripper or remover. Be sure to follow the directions on the product and test it in an inconspicuous area first. If all else fails, you may need to repaint the area completely.
What Causes Orange Peel Finish When Spray Painting?
An orange peel finish is a common problem when spray painting. There are several possible causes, including poor surface preparation, incorrect paint mixture, incorrect spraying technique, and environmental conditions.
Surface preparation is critical for achieving a smooth, even finish.
The surface must be clean and free of any grease, oil or dirt. If the surface is not properly prepared, the paint will not adhere correctly and will produce an uneven finish.
The paint mixture is another important factor that can affect the quality of the finish.
If the ratio of paint to thinner is incorrect, it can cause the paint to dry too quickly or produce an uneven texture.
The spraying technique also plays a role in creating a smooth, even finish. If the paint is applied too heavily or if the spray gun is held too close to the surface, it can cause an orange peel effect.
Additionally, if the air pressure is too high or low, it can also create an uneven finish.
Finally, environmental conditions can also impact the quality of the finished product. Hot and humid conditions can cause the paint to dry too quickly and produce an orange peel effect.
Conversely, cold and dry conditions can prevent the paint from drying properly and result in runs or sags in the finish.
Painting with a $50 HPLV paint gun and NO Orange Peel ✅
Conclusion
If you’ve ever sprayed single stage paint, you know that orange peel can be a real problem. Here’s how to avoid it:
1. Use a properly adjusted airless paint sprayer.
Your pressure should be between 1,500 and 2,000 psi.
2. Hold the tip of the gun about 10 inches from the surface you’re painting.
3. Use light, even strokes as you move the gun across the surface.
Overlap each stroke by about 50%.
4. Let each coat dry completely before applying the next one.