Whether you’re wanting to give your old fence a new lease of life or you’re painting a brand new one, there’s no denying that using a roller is the quickest and easiest way to get the job done. Here’s our step-by-step guide on how to paint a fence with a roller, so you can enjoy your freshly painted garden in no time.
- Pour your paint into a tray and fit your roller onto your brush handle
- Dip the roller into the paint, making sure to evenly coat it
- Roll the paint onto the fence, starting at the top and working your way down
- Work in small sections so that you don’t miss any spots
- Let the paint dry completely before moving on to the next section or applying a second coat of paint
Paint Fence With Brush Or Roller
When it comes to painting your fence, you have two main options: a brush or a roller. So, which is the best option for you? Here’s a look at the pros and cons of each to help you decide:
Brush Pros: 1. A brush can get into all those nooks and crannies that a roller just can’t reach. This is especially important if your fence has any intricate designs or details.
2. Brushes are also great for applying paint evenly across surfaces – no more missed spots! 3. Using a brush is often quicker than using a roller, so if you’re short on time, this could be the option for you.
How to Paint a Fence With a Brush
Are you looking to add a bit of curb appeal to your home? A fresh coat of paint can do wonders for your fence – and it’s not as difficult as you might think! Here’s how to paint a fence with a brush in just a few simple steps.
1. Start by giving your fence a good power wash to remove any dirt, pollen, or other debris. Let it dry completely before beginning to paint. 2. Next, use painters tape to protect any areas that you don’t want painted, like trim around windows or doors.
3. Once the area is prepped, start painting! Use long strokes and be sure to overlap each stroke so that the paint coverage is even. 4. Let the first coat of paint dry completely before adding a second coat, if desired.
And that’s it – you’re done!
How to Paint a Fence Fast
Are you looking for a way to spruce up your yard without spending a lot of money? A fresh coat of paint on your fence is the perfect solution! But if you’re thinking that painting a fence is going to be a time-consuming and tedious task, think again!
With these tips, you can have your fence painted in no time – and without breaking a sweat. The first step is to gather your supplies. You will need a paint roller, extension pole, paint tray, drop cloths, painter’s tape, and of course, paint.
When choosing paint for your fence, it’s important to pick something that is durable and weather-resistant. A latex exterior paint is a good option. Once you have all of your supplies, it’s time to get started.
Begin by setting up some drop cloths around the perimeter of your fence. Then use the painter’s tape to tape off any areas that you don’t want painted (such as landscaping or concrete). Next, pour your paint into the tray and roll it onto the fence using an extension pole.
Start at the top of the fence and work your way down. Use even strokes and try not to overload your roller with paint – this will make painting go faster and prevent drips. Once you’ve finished painting one section of the fence, move on to the next until the entire thing is complete!
Then sit back and admire your handiwork – you did it! Now enjoy your beautiful new fence…until it’s time to repaint again in a few years!
How to Paint a Fence Without It Going Through
Are you wanting to paint your fence without the hassle of it going through? Well, here are a few tips on how to make that happen! The first thing you need to do is gather your supplies.
You will need a ladder, drop cloths, painter’s tape, a brush or roller, and exterior paint. Once you have all of your supplies, set up your drop cloths and painter’s tape around the perimeter of the fence. Be sure to press the tape down firmly so that no paint gets under it.
Next, using a brush or roller, start painting the fence from top to bottom. Work in small sections and be sure to evenly coat the wood. Let the first coat dry completely before adding a second coat.
And there you have it! A freshly painted fence without any fuss!
Fence Roller Kit
If you’re looking for an easy and efficient way to install a new fence, or repair an old one, then you need a fence roller kit. This handy tool allows you to roll out fencing material quickly and easily, without having to deal with the hassle of sawing or nailing. Plus, it’s great for both home and commercial use.
Here’s everything you need to know about fence roller kits: What is a Fence Roller Kit? A fence roller kit is simply a tool that helps you unroll and flatten fencing material.
It consists of two main parts: the baseplate and the handle. The baseplate attaches to the ground (either with spikes or by being weighted down), while the handle is used to roll out the fencing material. Most kits also come with a tensioning device, which helps keep the fence tight and prevents it from sagging over time.
Why Use a Fence Roller Kit? There are many benefits of using a fence roller kit, including: -Ease of use: Unlike other methods like nailing or sawing, using a fence roller kit is much simpler and doesn’t require any special skills or training.
-Speed: With this method, you can install or repair a fence in record time! -Cost effective: Not only does this method save you time, but it can also save you money since there’s no need to hire professional help. -Great for DIY projects: If you’re planning on tackling your next fencing project yourself, then using a fence roller kit is definitely the way to go.
Installing Your Fence Using A Roller Kit 1) Choose your location: First things first – before you even start thinking about installing your new fence, you’ll need to choose the perfect location. Keep in mind things like property lines, underground utilities, sprinkler systems, etc. Once you’ve found the perfect spot, mark it off with some stakes and string so you have a clear boundary.
2) Attach your baseplate : Now it’s time to attach your baseplate (the part of the kit that will sit on the ground). If your kit came with spikes , drive them into the ground around the perimeter of your marked off area . If not , place some heavy objects on top of each corner of the plate to weigh it down . 3) Unroll your fencing material : Carefully unroll your fencing material across entire length of space , making sure that it’s nice and flat as you go . At this point , if included , now would be when yo u add in any type o f bracing or support system required for y our specific type o f fe nce . 4) Start rolling ! : Once everything is in place , i t ‘s tim e t o sta rt rol lin g! Begin at one end o f yo ur fe ncing line an d slo wly make yo ur way acros s th e enti re leng th , usin g eve rything fro m smal l logs t o lar ge rocks t o weig h dow n th e edg es as needed so tha t yo ur fe nce stay s nice an d tight agai ns t th e groun d .
How to Paint an Old Fence
When it comes to painting an old fence, there are a few things you need to take into consideration. First, what type of paint are you going to use? There are oil-based paints and latex paints, and each has its own advantages and disadvantages.
Second, what color do you want to paint the fence? You may want to choose a color that will blend in with your landscaping or one that will stand out. Third, how much prep work do you need to do before painting?
This includes sanding down the old paint and making sure the surface is clean and free of debris. Finally, how long does this project usually take? Depending on the size of your fence and the amount of paint you’re using, it could take anywhere from a few hours to a couple days.
Now that you know all that goes into painting an old fence, let’s get down to business! The first step is deciding which type of paint to use. If you’re looking for durability, then an oil-based paint is your best bet.
It can withstand harsh weather conditions and won’t chip or peel as easily as latex paint. However, oil-based paints can be tricky to work with because they require specific cleanup methods (use mineral spirits rather than water) and can often produce a strong odor. If you’re looking for an easier option with less fumes, then latex paint is probably your best choice.
It’s also less expensive than oil-based paints and can be cleaned up with just soap and water. Once you’ve chosen your paint, it’s time to pick out a color! If you want the fence to blend in with your landscaping, go for a neutral shade like tan or light gray.
If you want the fence to stand out more against your yard, try a bolder color like red or black. When in doubt, consult with a professional painter or someone at your local hardware store for advice on which colors would work best for your space. Now comes the fun part: prepping the surface! This involves sanding down any rough edges on the old paint job and making sure the whole area is clean before applying any new paint. Once everything is smooth and dust-free, you’re ready to start painting! Just remember: when using oil-based paints always start with primer first; when using latex paints no primer is necessary but two coats are recommended for optimum coverage; both types of paints should dry completely between coats (usually about 24 hours). And that’s it! With some patience (and maybe some help from friends or family), you’ll have a freshly painted fence in no time!
How to Paint a Picket Fence Quickly
If you’re looking to add a touch of charm to your home’s exterior, consider painting your picket fence. It’s a quick and easy project that can be completed in just a few hours, and it’s sure to give your property an instant facelift. Here’s how to do it:
1. Begin by cleaning the fence with a power washer or hose attachment. This will remove any dirt, grime, or pollen that has accumulated on the surface. Allow the fence to dry completely before proceeding.
2. Next, use painter’s tape to protect any areas adjacent to the fence that you don’t want painted (such as sidewalks or driveways). 3. Once the area is prepped, start painting! Use a brush or roller designed for use with exterior paint, and apply evenly across the entire surface of the fence.
For best results, paint in small sections so that each section is still wet when you move on to the next one. 4. Finally, allow the paint to dry completely before removing the painter’s tape. Enjoy your new picket fence!
How to Restain a Fence
Assuming you would like a step-by-step guide on how to restain a fence: 1. Begin by power washing the fence with a garden hose and low pressure nozzle attachment, or rent a power washer from your local hardware store. This will remove any dirt, debris, or existing stain on the fence.
Be sure to keep the power washer moving at all times to avoid damaging the wood. 2. Once the fence is dry, use a paintbrush or roller to apply a thin layer of stain evenly across the surface of the fence. For best results, use a brush designed for staining fences (available at most hardware stores).
3. Allow the first coat of stain to dry completely before applying a second coat, if desired. Once both coats are dry, enjoy your newly refreshed fence!
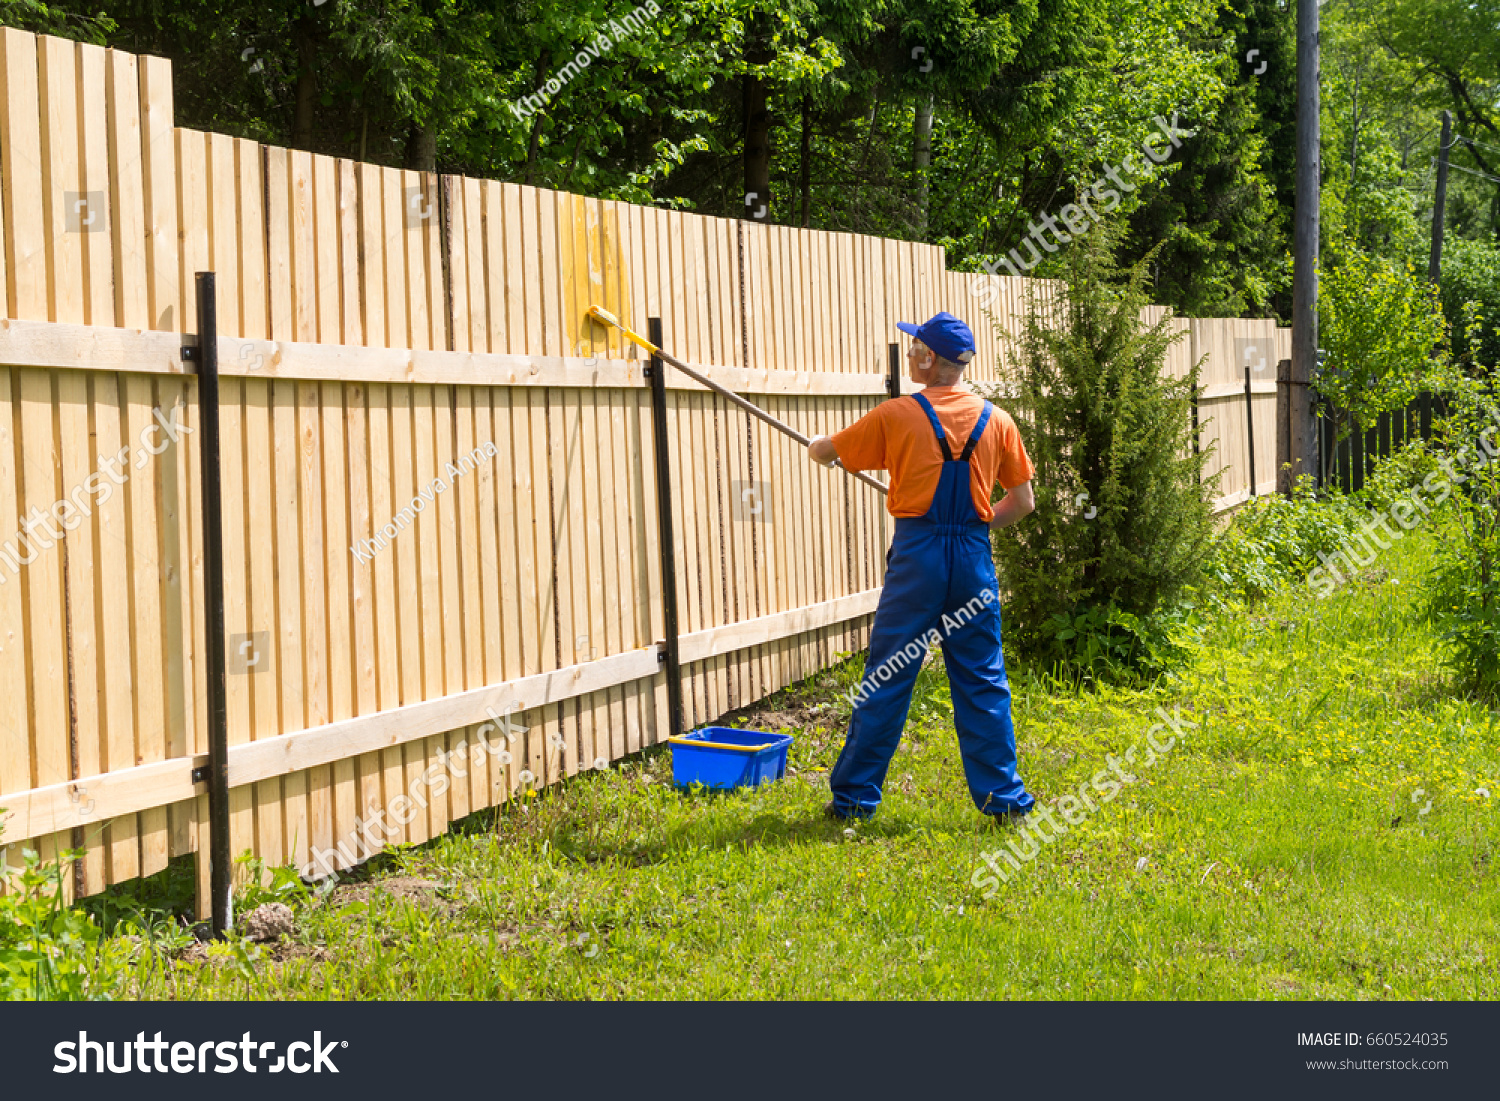
Credit: www.shutterstock.com
What is the Best Roller for Painting a Fence?
There are a few things to consider when choosing the best roller for painting a fence. The first is the type of paint you will be using. Water-based paints are generally thinner and easier to work with, while oil-based paints are thicker and require more care when applying.
The second thing to consider is the surface you will be painting on. If the fence is made of smooth wood, you will need a different roller than if it is made of rough or textured wood. Smooth surfaces require softer rollers with shorter bristles, while rougher surfaces need stiffer rollers with longer bristles.
Finally, think about how much area you need to cover and how fast you want to finish the job. Larger areas will obviously take longer to paint, so choose a roller that can hold more paint and apply it evenly. If speed is your goal, look for a roller with an extended handle that will help you reach higher areas without ladder.
No matter what kind of fence you have or what type of paint you use, there is a roller out there that can help you get the job done quickly and easily. With a little research, you can find the perfect one for your next painting project!
Is It Better to Spray Or Roll Paint on a Fence?
If you’re painting a fence, the best way to apply the paint is to use a sprayer. It’s faster than painting with a brush, and it will give you more even coverage. Just be sure to use a mask and eye protection when you’re spraying, and don’t overdo it or you’ll end up with too much paint on the fence.
How Do You Roll a New Fence With a Roller?
Assuming you would like tips on how to effectively roll a new fence with a roller: It is recommended that you start by attaching the end of the fencing that will be rolled first, to the side of the house or other solid structure. This will give you something to brace the fencing against as you roll it out.
It is important that the posts are facing in the correct direction before beginning to roll so that they can be properly inserted into the ground later. Next, take your time unrolling the fencing. If possible, have someone help you hold up one end while you unroll.
Be sure not to let the fencing drop or drag on the ground as this can damage it. Slowly and carefully guide it until it is completely unrolled. Now it is time to attach each post to its respective hole in the ground using a post-hole digger or other tool.
You may need someone to help hold up sections of fencing while you do this if they are too long for one person. Once all posts are securely in place, go back and check that none of them are leaning too far in one direction or another. The final step is to add any extra touches such as decorations or gates!
What is the Fastest Way to Paint a Fence?
Assuming you are painting a wooden fence, the fastest way to paint a fence would be to first pressure wash the fence to remove any dirt, grime, or debris. Once the fence is dry, you would then need to sand down any rough spots and apply a primer. After the primer has dried, you can then begin painting your fence with a paintbrush or roller.
How to paint a fence fast using a roller
Conclusion
If you’re looking for a fast and easy way to paint a fence, a roller is the way to go. Here’s how to do it: 1. Pour your paint into a bucket and attach a roller cover to your roller.
2. Dip the roller in the paint and apply it to the fence in long, even strokes. 3. Work your way from top to bottom, being sure to overlapping each stroke so you don’t miss any spots. 4. Let the first coat of paint dry completely before applying a second coat, if desired.