It’s getting to be that time of year again. The weather is starting to warm up and the kids are getting antsy to get outside and play. One of the first things you need to do to prepare your driveway for outdoor fun is to paint basketball lines on it.
- Measure the width of your driveway and mark the center line with chalk
- Divide the width of your driveway into thirds and mark each third with chalk
- Draw a 3-foot wide by 18-foot long rectangle in the center third of your driveway using chalk
- This will be the key
- In each corner of the key, draw a 6-inch circle using chalk
- These will be the free throw circles
- At each end of the key, draw a 12-foot long by 6-inch wide rectangle using chalk
- These will be the backboards
- Finally, paint over all of your lines with white paint or spray paint designed for concrete
Credit: preciseassemblies.com
Q: What is the Best Way to Paint Basketball Lines on a Driveway
There are a few different ways that you can paint basketball lines on your driveway. One way is to use a stencil and spray paint. This method is quick and easy, but the lines may not be as straight as you would like them to be.
Another way is to use masking tape to create straight lines, and then paint over the top of the tape with your desired color. This method takes a bit more time and effort, but it will give you much straighter lines than using a stencil alone.
You Can Purchase a Stencil at Your Local Hardware Store Or Online
If you’re looking to add a design to a wall, ceiling, or piece of furniture, stencils are a great way to do it yourself. You can purchase a stencil at your local hardware store or online. Stencils come in a variety of sizes and designs, so you can find one that fits your project perfectly.
Once you have your stencil, simply trace the design onto your surface with pencil and then paint over it with the color of your choice. When you’re finished, peel off the stencil and enjoy your new design!
Q: How Do I Prepare the Surface for Painting
A: Before you can paint a surface, you need to prepare it. This usually involves cleaning it, sanding it, and/or applying a primer.
Cleaning: You always want to start with a clean surface.
If the surface is dirty, the paint won’t adhere as well and will likely chip or peel over time. To clean most surfaces, simply use soap and water. For tougher stains, you may need to use something stronger like trisodium phosphate (TSP).
Just be sure to read the label carefully and follow the instructions.
Sanding: Once the surface is clean, you may need to sand it before painting. This is especially true for wood surfaces.
Sanding smooths out any imperfections in the surface and gives the paint something to grip onto. When sanding, be sure to use fine-grit sandpaper so you don’t damage the surface. And always sand in the direction of the grain.
Priming: In some cases, you may also need to apply a primer before painting. This is typically true when painting bare wood or metal surfaces.
Use a Power Washer Or Hose to Remove Any Dirt, Dust, Or Debris
If you have a pressure washer, you can use it to clean your home’s exterior. Just be sure to use the correct nozzle and start with the lowest setting. If you don’t have a pressure washer, you can attach a hose to your outdoor faucet and use that to spray down your siding and windows.
Once the Surface is Clean And Dry, You’Re Ready to Start Painting! Q: What Kind of Paint Should I Use
There are a few different types of paint that can be used on walls, and the kind you use will depend on the surface you’re painting, the desired finish, and the type of paintbrush or roller you’re using. For most surfaces, latex or water-based paints are best. These types of paint go on smoothly and evenly with minimal brush strokes, making them ideal for walls.
They also clean up easily with just soap and water.
They also take longer to dry than latex paints, so there’s a greater chance of smudging if you’re not careful. That said, oil-based paints do have their advantages. They tend to provide a more durable finish and resist staining better than latex paints.
If you’re unsure which type of paint to use for your project, consult a professional painter or hardware store employee for guidance.
However, Any Type of Exterior Paint Will Work Fine
It’s important to choose the right type of paint for your home’s exterior. The three most common types of exterior paint are acrylic, latex and oil-based. Here’s a quick guide to help you choose the best type of paint for your home:
Acrylic paint is a synthetic water-based paint that was first developed in the 1950s. It’s made from acrylic resin, which is derived from petroleum. Acrylic paint is popular because it dries quickly, is durable and resists fading.
It can be used on all types of surfaces, including wood, metal, masonry and plastic. However, it doesn’t adhere well to greasy or oily surfaces.
Latex paint is also water-based and synthetic.
Latex paints were first developed in the 1930s and are made from rubber or vinyl polymers. They’re popular because they’re durable, low-odor and easy to clean up with just soap and water. They can also be used on a variety of surfaces, but like acrylic paints, they don’t adhere well to greasy or oily surfaces.
Oil-based paints have been around the longest — they date back to ancient Egypt! These paints are made with either natural or synthetic oils (like linseed oil or alkyd resins). Oil-based paints take longer to dry than latex or acrylic paints, but they’re more durable and resistant to fading and chipping.
They can be used on all types of surfaces except masonry; however, they aren’t recommended for use in high humidity areas since they can mildew easily.
Just Be Sure to Read the Labels Carefully And Follow the Directions
When it comes to using essential oils, just be sure to read the labels carefully and follow the directions. This will ensure that you are using them safely and effectively.
There are a few things to keep in mind when using essential oils.
First, always dilute them before applying them to your skin. This can be done by adding a few drops of oil to a carrier oil such as jojoba or almond oil. Second, be aware of any potential allergies you may have before use.
Test the oil on a small area of skin first to make sure you don’t have a reaction. Finally, never ingest essential oils unless directed by a qualified professional.
If used correctly, essential oils can be an effective way to improve your health and well-being.
They can be used for everything from relaxation to boosting energy levels. Just remember to use them safely and always follow the label directions.
Q: How Long Will It Take for the Paint to Dry
It usually takes about two hours for most paints to dry. The actual time depends on the type of paint, the weather and the humidity levels.
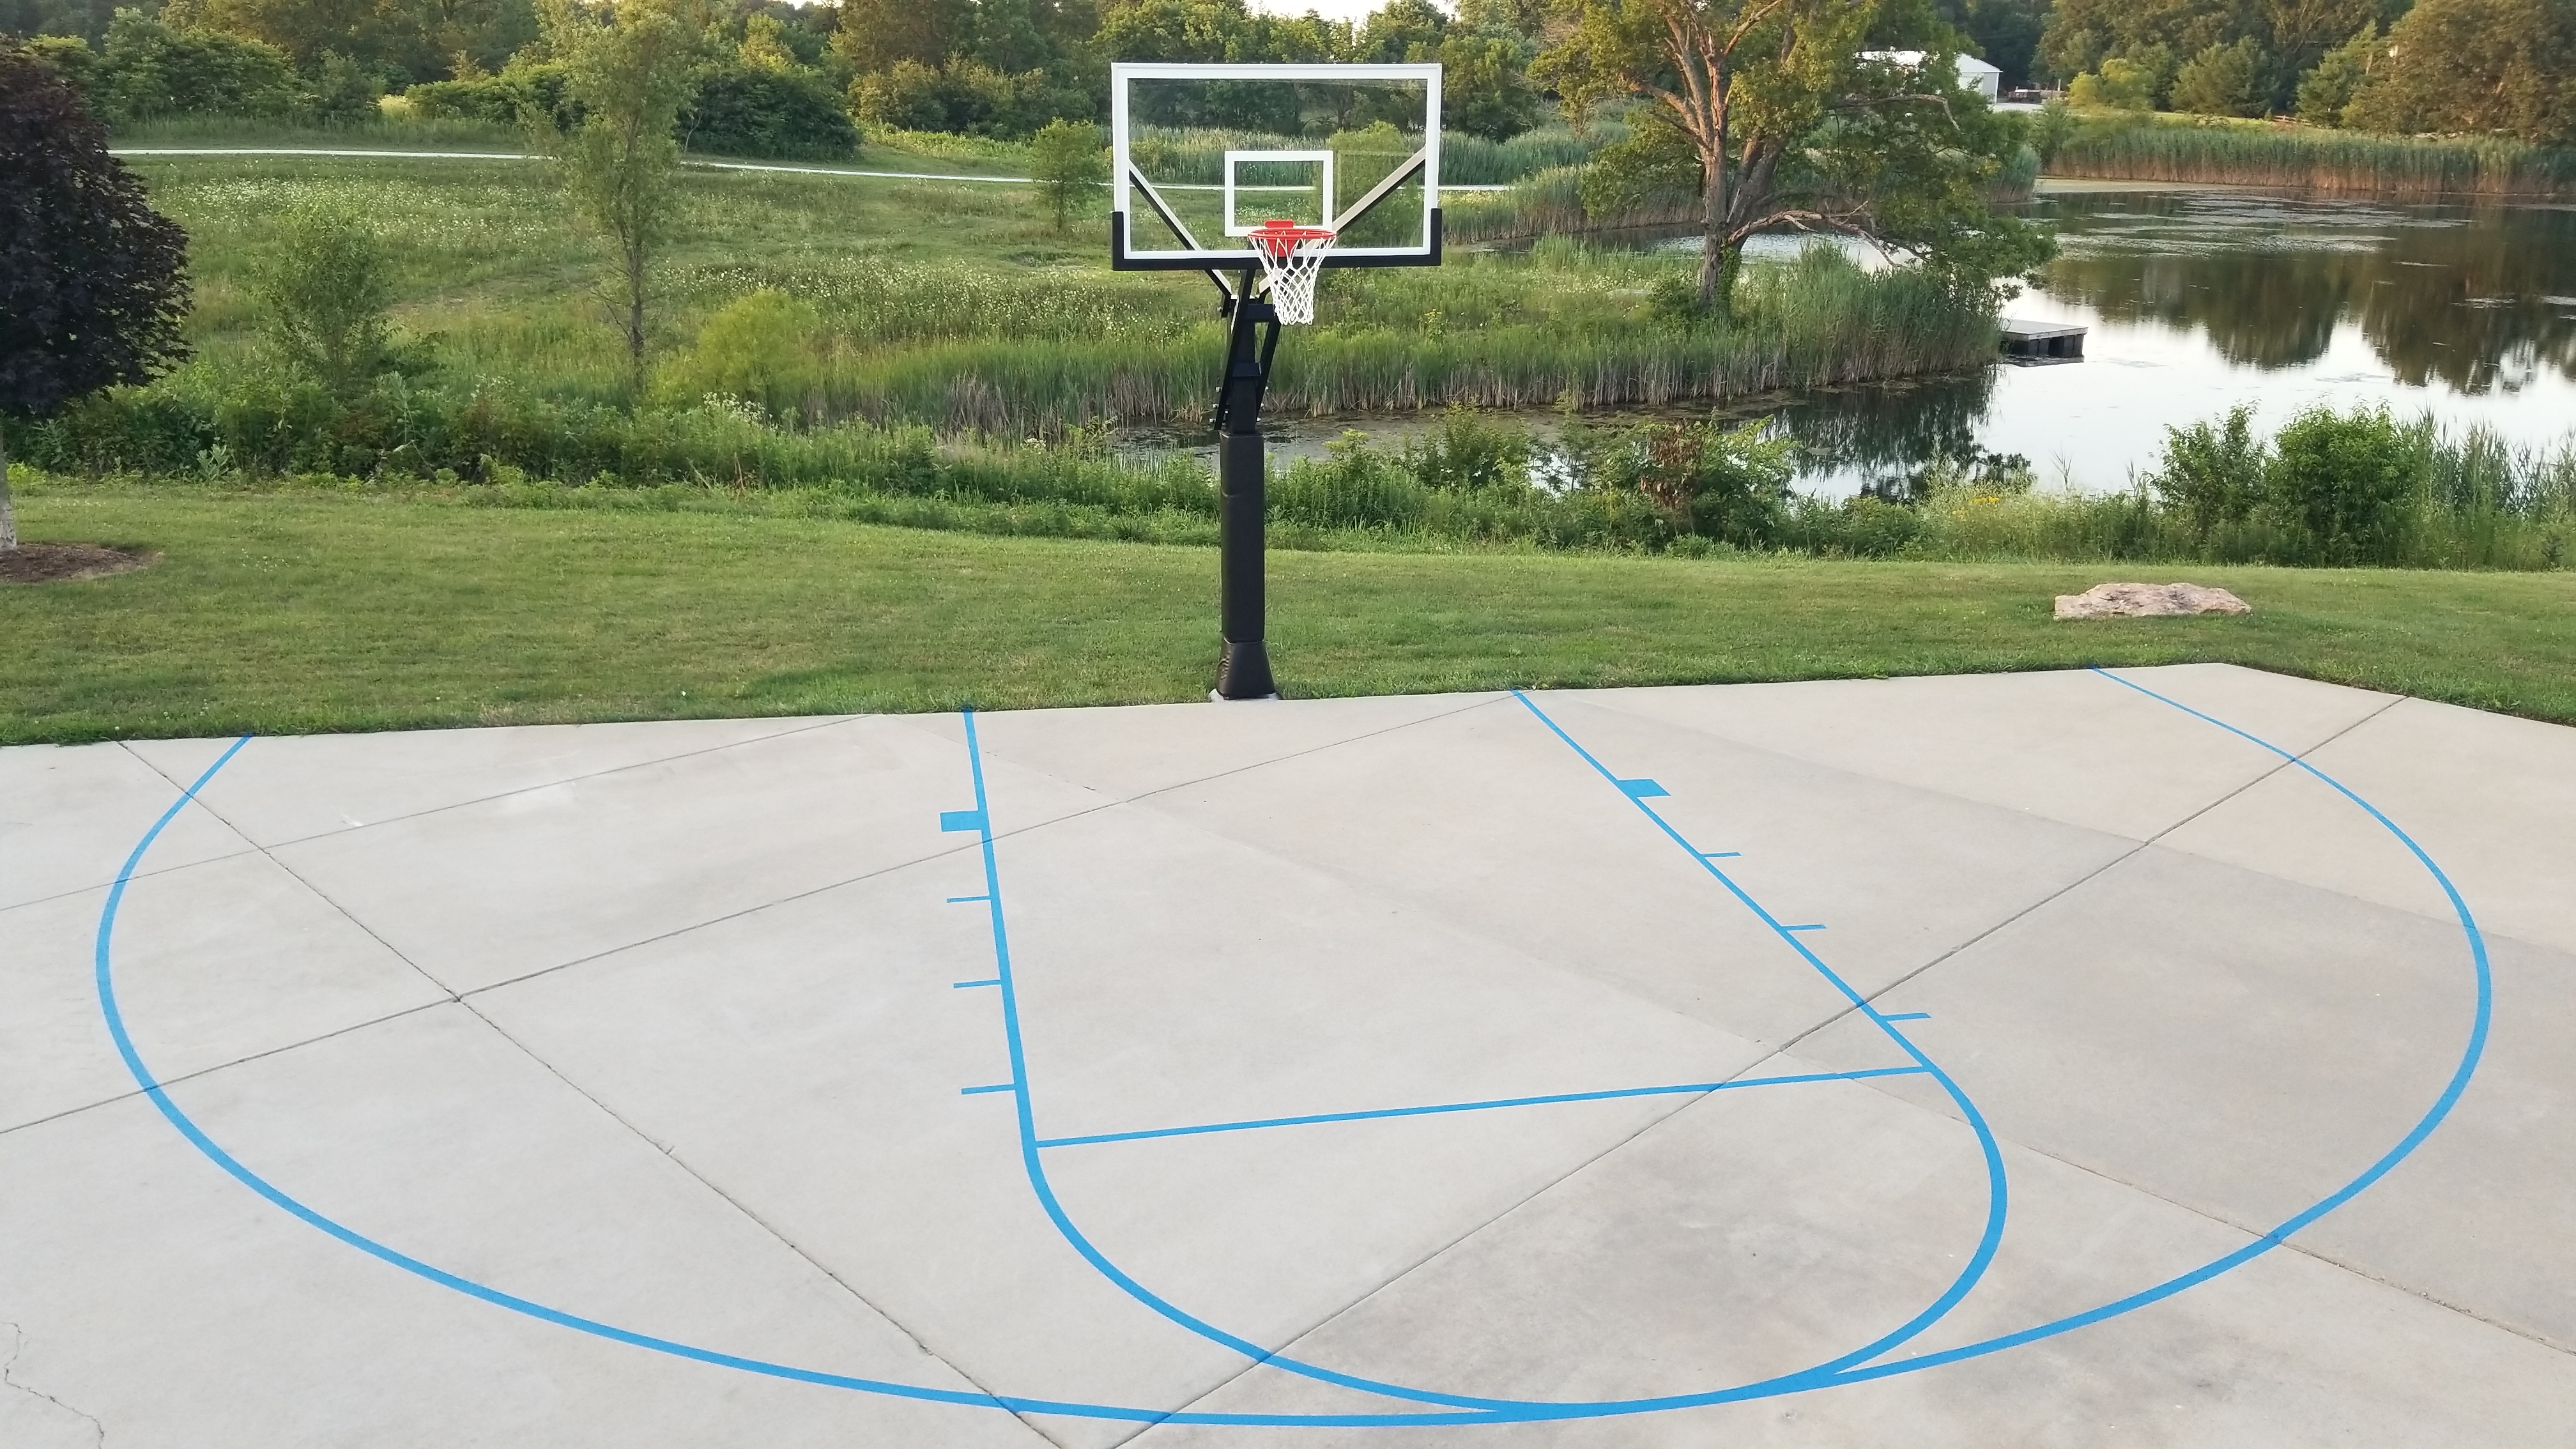
How To Paint a Basketball Court On Your Driveway
Conclusion
If you have a driveway and love basketball, why not paint some lines on it so you can practice your skills at home? It’s easy to do and only requires a few supplies. Here’s how:
First, clean the area where you’ll be painting. Then, use chalk to outline the space for your court. Once you have your lines drawn, it’s time to start painting!
Use a roller or brush to apply an acrylic latex paint in your desired color. Let the paint dry completely before playing on your new court!